


Key Takeaways of This Guide
-
Solve the Core Problem: Learn the innovative method of using a wood chipper to pulverize tough horse manure balls instantly, transforming them into a compost-ready material. -
Achieve Perfect Mixing: Discover the simple 1:1 volume ratio of manure to dry leaves for the ideal carbon-nitrogen balance, leading to faster, odor-free decomposition. -
Build a Winter-Proof Pile: Get step-by-step instructions on constructing a static compost pile with built-in aeration layers and a “breathing chimney” to prevent compaction over winter. -
Harvest Compost Faster: By increasing surface area and aeration from the start, this method ensures your manure compost will be ready for your garden much sooner, even with no turning during cold months.
If you have access to horse manure, you know the struggle. Those nutrient-rich “road apples” get trampled into hard, dense balls that seem to last forever in the compost pile, especially in winter. You turn the pile, but those stubborn clumps remain, slowing down the entire process.
This year, I said enough. I devised a method to solve this problem once and for all using a tool I already owned: my wood chipper. The result was a game-changer. This article is a complete guide to pre-processing horse manure for faster, hotter, and more efficient composting, especially in a static winter pile. If you’re searching for solutions like “how to break down hard horse manure balls,” “composting horse manure pellets in winter,” or “using a chipper shredder for manure,” you have found the definitive answer.
Why Manure Balls Are a Composting Nightmare
The problem isn’t the manure itself; it’s the physical form. Hardened manure balls create three major issues:
-
Low Surface Area: Microbes can’t break down what they can’t touch. A solid ball protects its interior from decomposition. -
Poor Aeration: They choke off the air supply in the pile, creating anaerobic (oxygen-less) conditions that cause bad smells and slow, cold decomposition. -
Uneven Moisture: The outside might be wet, but the inside can be bone-dry or soggy.
The Solution: We need to destroy that physical structure. A wood chipper is the perfect tool for the job.
The Chipper Method: Your Secret Weapon for Perfect Compost
By shredding the manure balls together with carbon-rich leaves, you achieve three things at once:
-
Pulverizes clumps into a fine, uniform texture. -
Instantly mixes your “greens” (manure) and “browns” (leaves) for a perfect start. -
Creates a fluffy, aerated base material that resists compacting.
What You’ll Need:
-
Wood Chipper (heavy-duty with metal blades/hammers is best) -
Hardened Horse Manure Balls -
Dry, Brown Leaves -
Safety Gear: Safety glasses, work gloves, and a dust mask are NON-NEGOTIABLE.
The Game-Changing Method: Simultaneous Shredding and Mixing
The secret isn’t just shredding manure; it’s shredding the manure with a carbon source like dry leaves. This one-step process delivers three critical benefits:
-
Pulverizes Pellets: The shredder’s blades or flails smash the hard balls into a fine, uniform consistency. -
Instantly Mixes Ingredients: Manure (a nitrogen-rich “green”) and leaves (a carbon-rich “brown”) are blended perfectly, creating an ideal starting Carbon-to-Nitrogen (C/N) ratio. -
Creates a Fluffy Texture: The dry leaves absorb excess moisture and add bulk, resulting in a light, aerated material that resists compaction.

Step-by-Step Guide: From Road Apples to Black Gold
Step 1: Safety and Preparation
-
Safety Gear is Non-Negotiable: Wear safety glasses, sturdy gloves, and a dust mask. Dry manure can produce harmful dust. -
Tool: A heavy-duty chipper shredder with metal blades or flails is recommended. Light-duty models may struggle. -
Materials: -
Horse Manure Pellets: Ideally on the drier side. -
Carbon Source: Dry leaves are perfect. Shredded cardboard or straw also works.
-
Step 2: Get the Ratio Right (The Science Part)
The ideal Carbon-to-Nitrogen (C/N) ratio for hot compost is between 25:1 and 30:1. Getting this right is key to fast decomposition.
|
|
|
|
|---|---|---|
|
|
|
|
|
|
|
|
To achieve the ideal ratio, use a 1:1 volume ratio. For every bucket of manure balls, use one bucket of dry leaves. This simple formula works incredibly well.
Step 3: The Safety Check & Shredding Technique
-
Gear Up: Put on your safety glasses, gloves, and mask. Dry manure can create dust. -
Start the Chipper: Let it reach full operating speed. -
Feed even and steady: This is the critical technique. Do not dump loads in. Use two small buckets to scoop a mix of manure balls and leaves. Feed this mix into the chipper evenly and steadily. This prevents jamming and ensures thorough mixing. -
Check the Output: The finished material should be fluffy, uniform, and have no recognizable clumps. It will look like moist, shredded garden mulch.
-
Perfect: It feels like a wrung-out sponge, with just a drop or two of moisture. -
Too Wet: Water streams out. Add more shredded dry leaves or cardboard. -
Too Dry: It crumbles apart. Moisten lightly with a hose as you build your pile.
Building a Winter Compost Pile That Won’t Pack Down
Even with fluffy material, a winter pile can settle. Here’s how to build “breathability” into your compost heap from the start.
1. The Base Layer:
Start with a 6-inch layer of coarse, bulky material, such as small branches, corn stalks, or twigs, at the bottom of your bin. This creates an air pocket underneath the pile.
2. The “Lasagna” Layering with a Twist:
-
Add your shredded manure/leaf mix in layers 6-8 inches thick. -
The Key: Between each layer of the shredded mix, add a 2-3 inch layer of bulky, un-shredded browns, like whole dry leaves or crumpled cardboard. This acts as a “breathing layer,” preventing the finer material from compacting and maintaining horizontal air channels.
3. The “Breathing Chimney” (Pro-Move):
As you build the pile, place a bundle of upright stalks (e.g., sunflower stalks) or a perforated PVC pipe in the center. Once the pile is complete, carefully remove it, leaving a perfect air shaft that encourages vertical airflow.
4. The Winter Blanket:
Top the entire pile with a thick, 6-inch layer of straw, hay, or more whole leaves. This “blanket” insulates the pile, trapping the heat generated by microbial activity and protecting it from excess rain and snow.
Winter Rule: NO TURNING!
Resist the urge to turn the pile. Turning releases precious heat. Let the microbes work slowly and steadily through the cold months. Your pre-processing has given them everything they need to succeed.
Frequently Asked Questions (FAQ)
Q1: Can any wood chipper handle horse manure?
A: A heavy-duty chipper with metal blades or a hammer mill is strongly recommended. Light-duty, string-trimmer-type chippers may struggle or break. Always check your manufacturer’s guidelines.
Q2: Won’t the manure clog or rust the chipper?
A: The 1:1 mix with dry leaves is crucial—it absorbs moisture and creates an abrasive, non-sticky mix. After use, run a few handfuls of dry leaves or small branches through the chipper to help clean it out.
Q3: How long will it take to compost in winter?
A: With this method, the pile will heat up significantly within 2-3 days. While it won’t be complete in deep winter, by spring, you’ll have a large volume of well-broken-down, semi-finished compost that will be ready to use after just one or two turnings.
Q4: What if I don’t have a wood chipper?
A: The only other effective method is to break up the balls by hand with a shovel or fork—a very labor-intensive task. Soaking them in water to soften is an option, but it can make the mixture too wet. The chipper is by far the most efficient solution.

Choosing the Right Composting Method for Your Needs
“The chipper pre-processing method outlined above is an incredibly effective solution for tackling large, accumulated batches of manure and leaves, typically in the fall, to prepare for winter. However, manure management is a year-round challenge.
If you are looking for a simple, space-saving solution for daily stall clean-out or have a very small-scale operation, we highly recommend exploring the Trash Bag Composting Method. This approach uses heavy-duty contractor bags or compostable bags to break down waste anaerobically (without air). It’s excellent for odor control, pest prevention and requires minimal space, making it the perfect complement to large-scale hot composting.
Composting Method Comparison: Chipper vs. Trash Bag
|
|
|
|
|---|---|---|
|
|
|
|
|
|
|
|
|
|
|
|
|
|
|
|
|
|
|
|
|
|
|
|
|
|
|
|
|
|
|
|
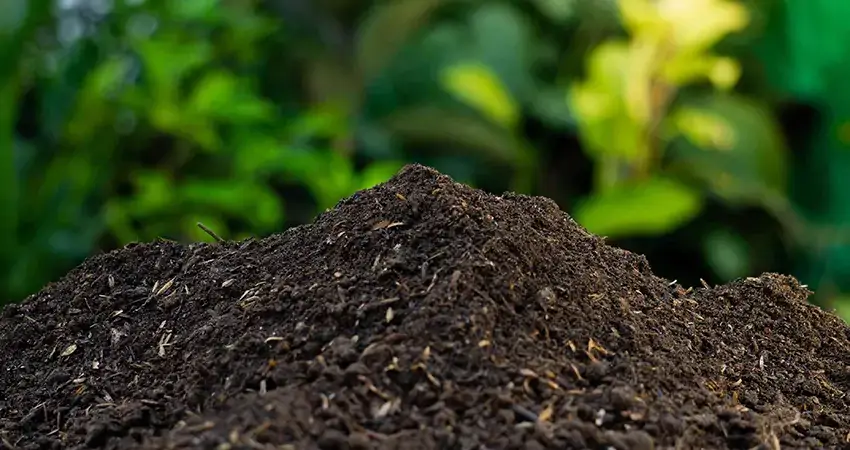
Conclusion: A Little Fall Prep for a Big Spring Reward
Shredding your manure and leaves in the fall is the ultimate “work smarter, not harder” garden hack. It transforms a winter-long problem into a quiet, efficient decomposition process. Whether you choose this powerful preprocessing method or the simpler trash bag approach for daily waste, the principle is the same: turning waste into wealth. This spring, instead of staring at stubborn clumps, you’ll be shoveling out rich, dark, crumbly compost—all thanks to a bit of smart fall preparation.